Hello!
Summertime in Atlanta is in full swing! Which means, I've taken to more indoor projects than usual. Which means, this post is taking you behind the scenes, for an inside look at the latest inside projects! (See what I did there?)
Let's discuss only one project today. Let's call it... Project One.

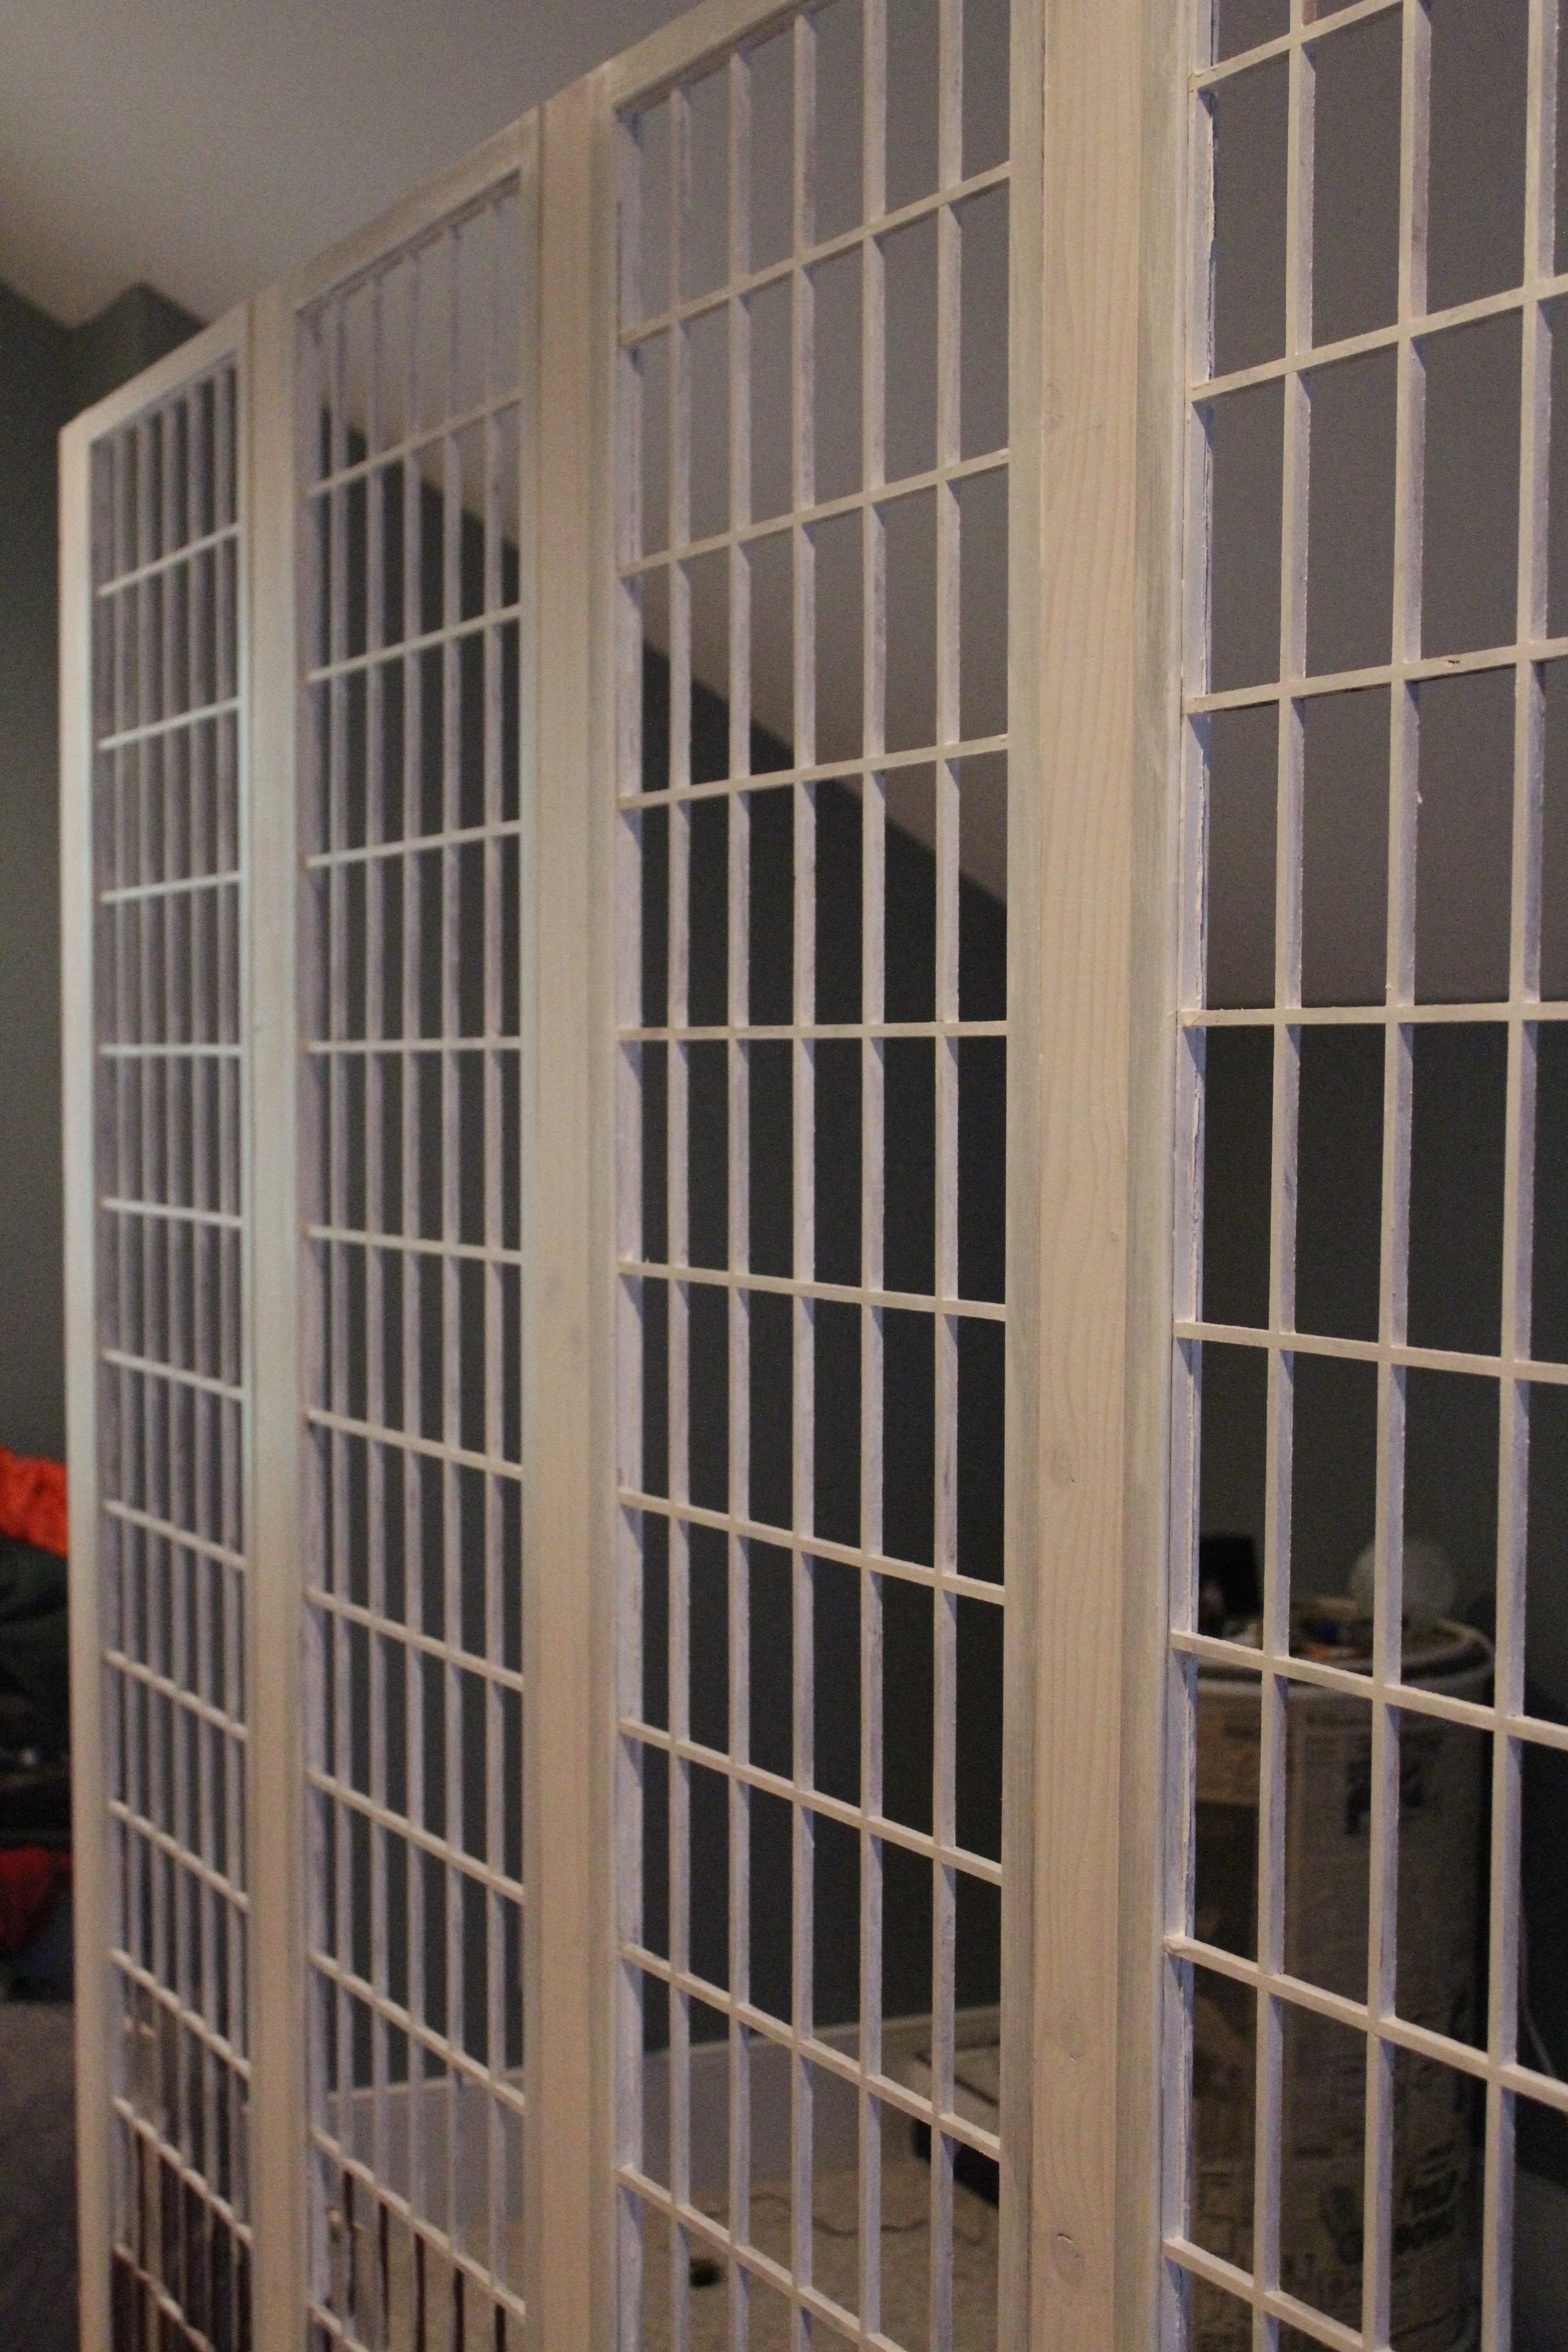
It's not a prison cell!
I bring you this photo, inspired by Orange is the New Black, although less... bleak? Let's take a few steps back in the room. Please begin humming the Star Wars theme song aloud if that will make this more fun for you. Or, hum the intro to OitNB, but know that you will probably be depressed by the final photo, whether you want to or not. That stuff gets in your head.
duh DUH duh duh duh DUH duh...
duh duh duh DUH duh, duh duh duh duhhhh
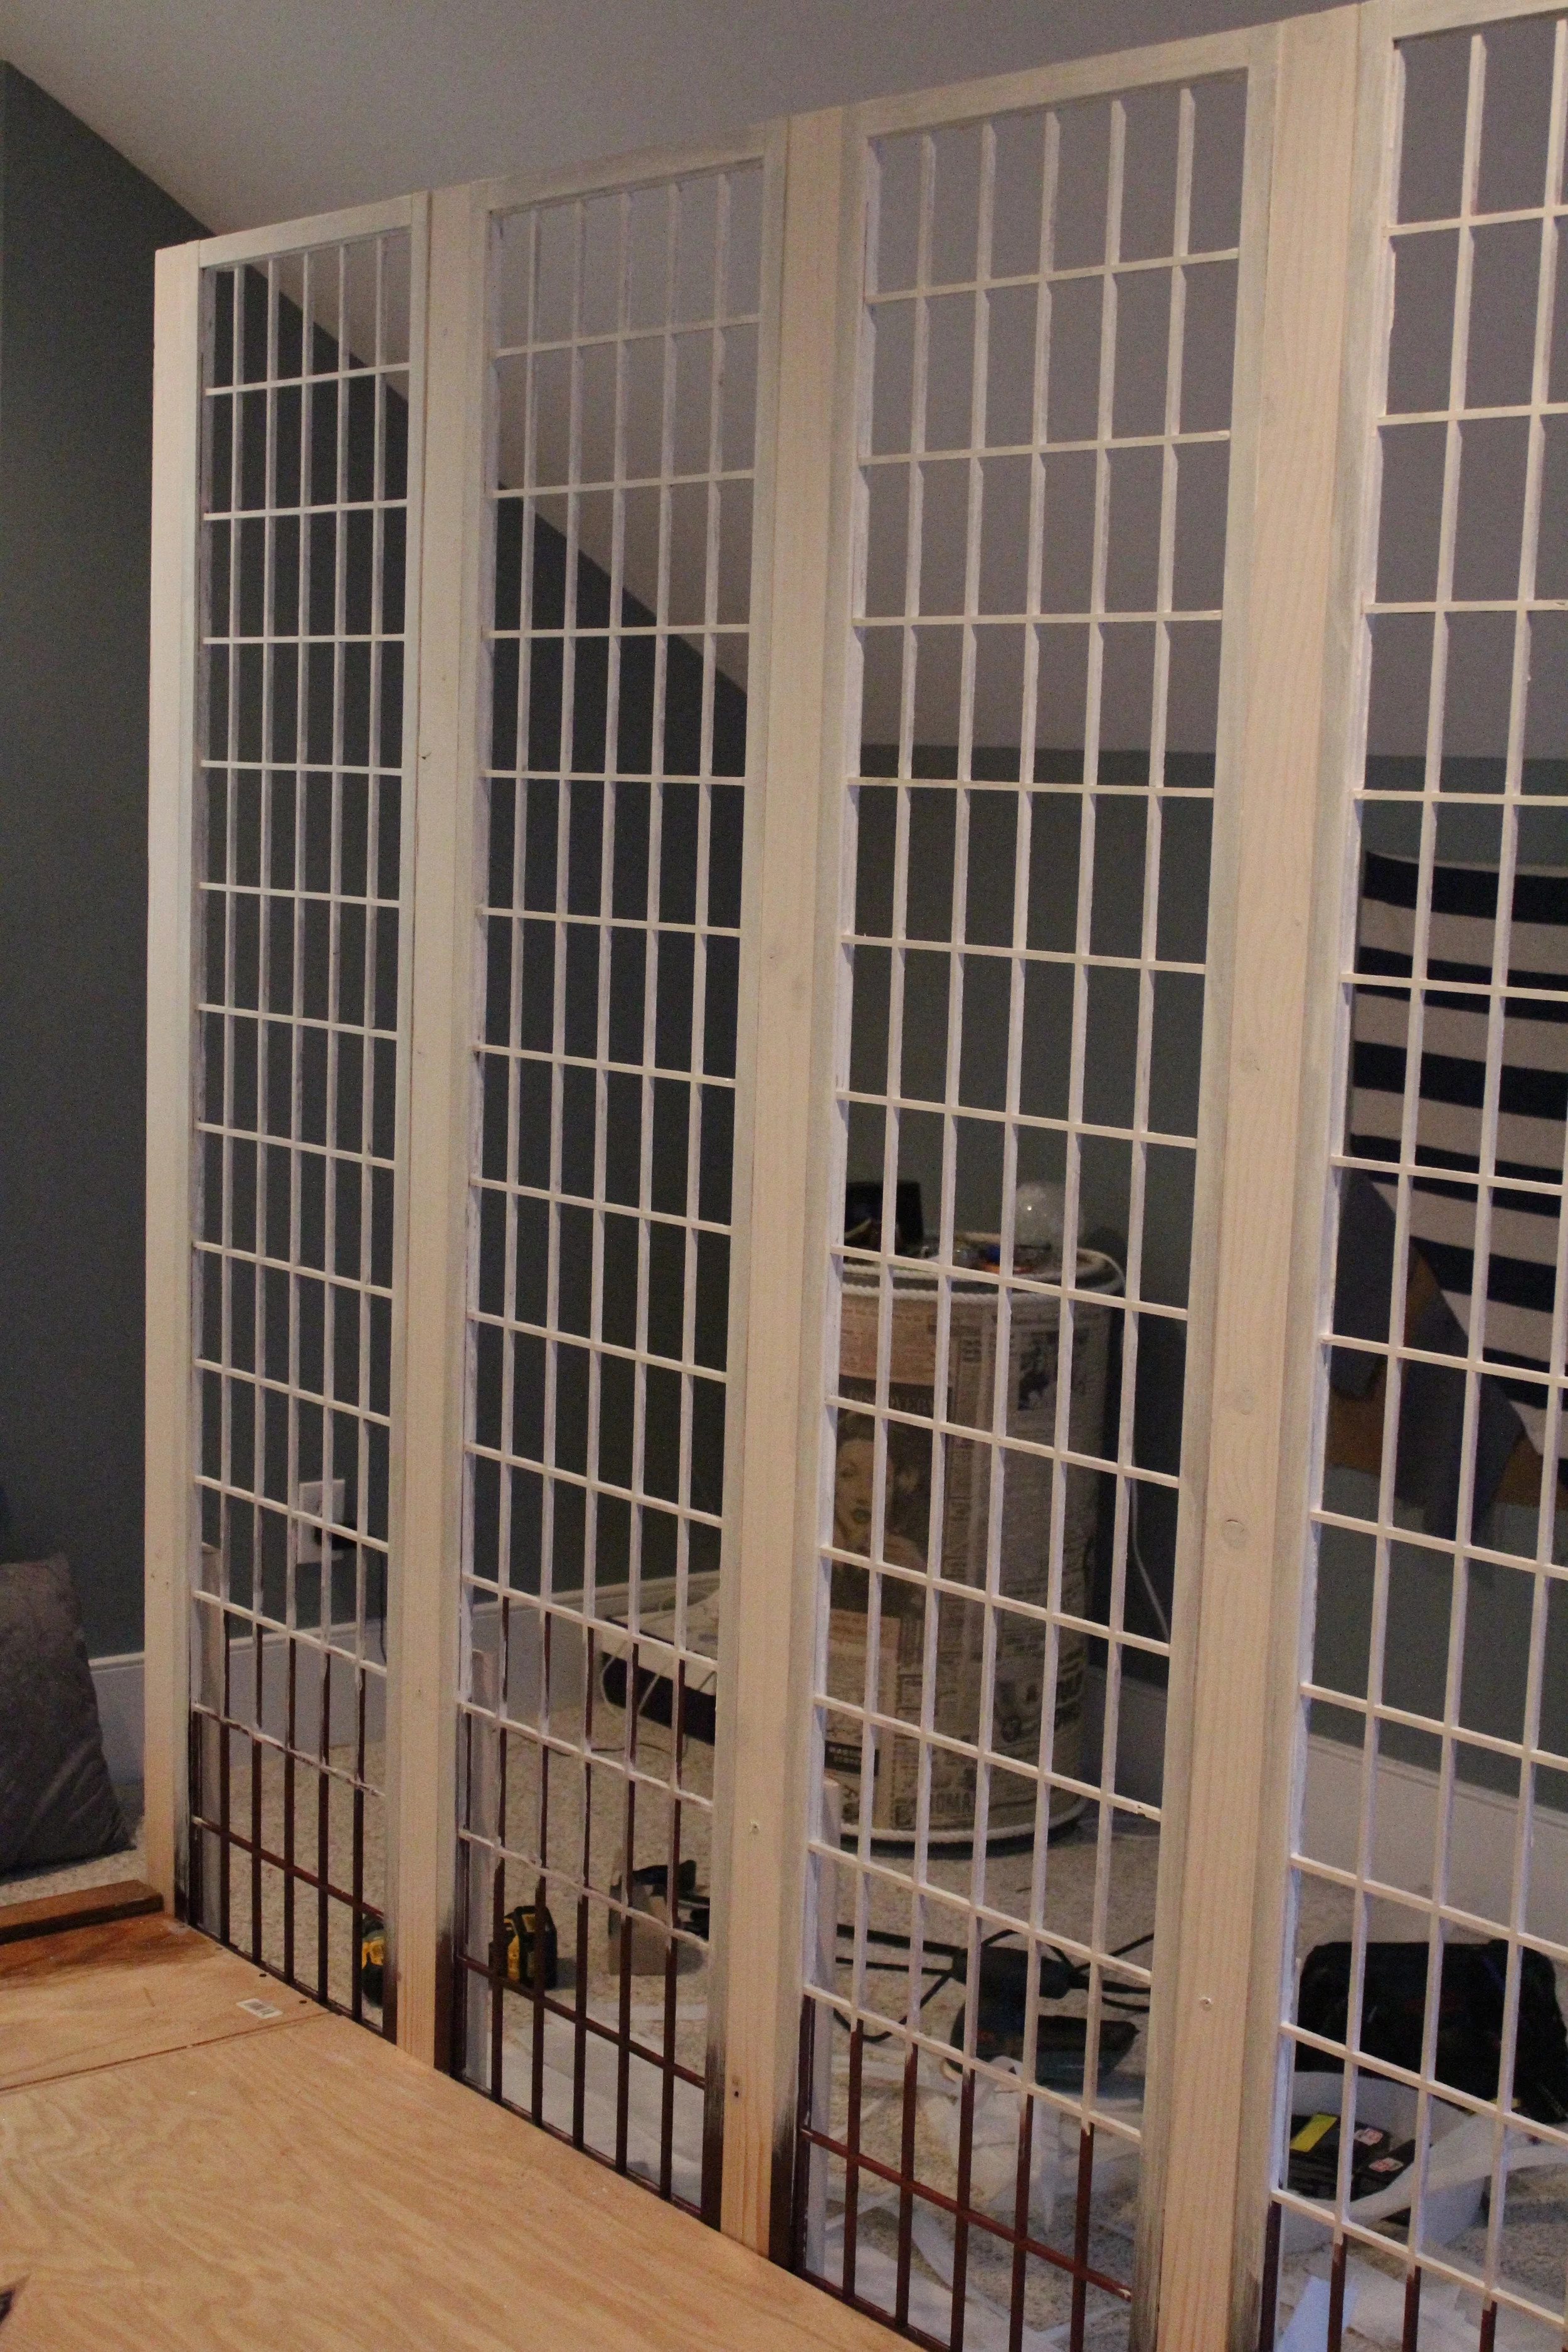
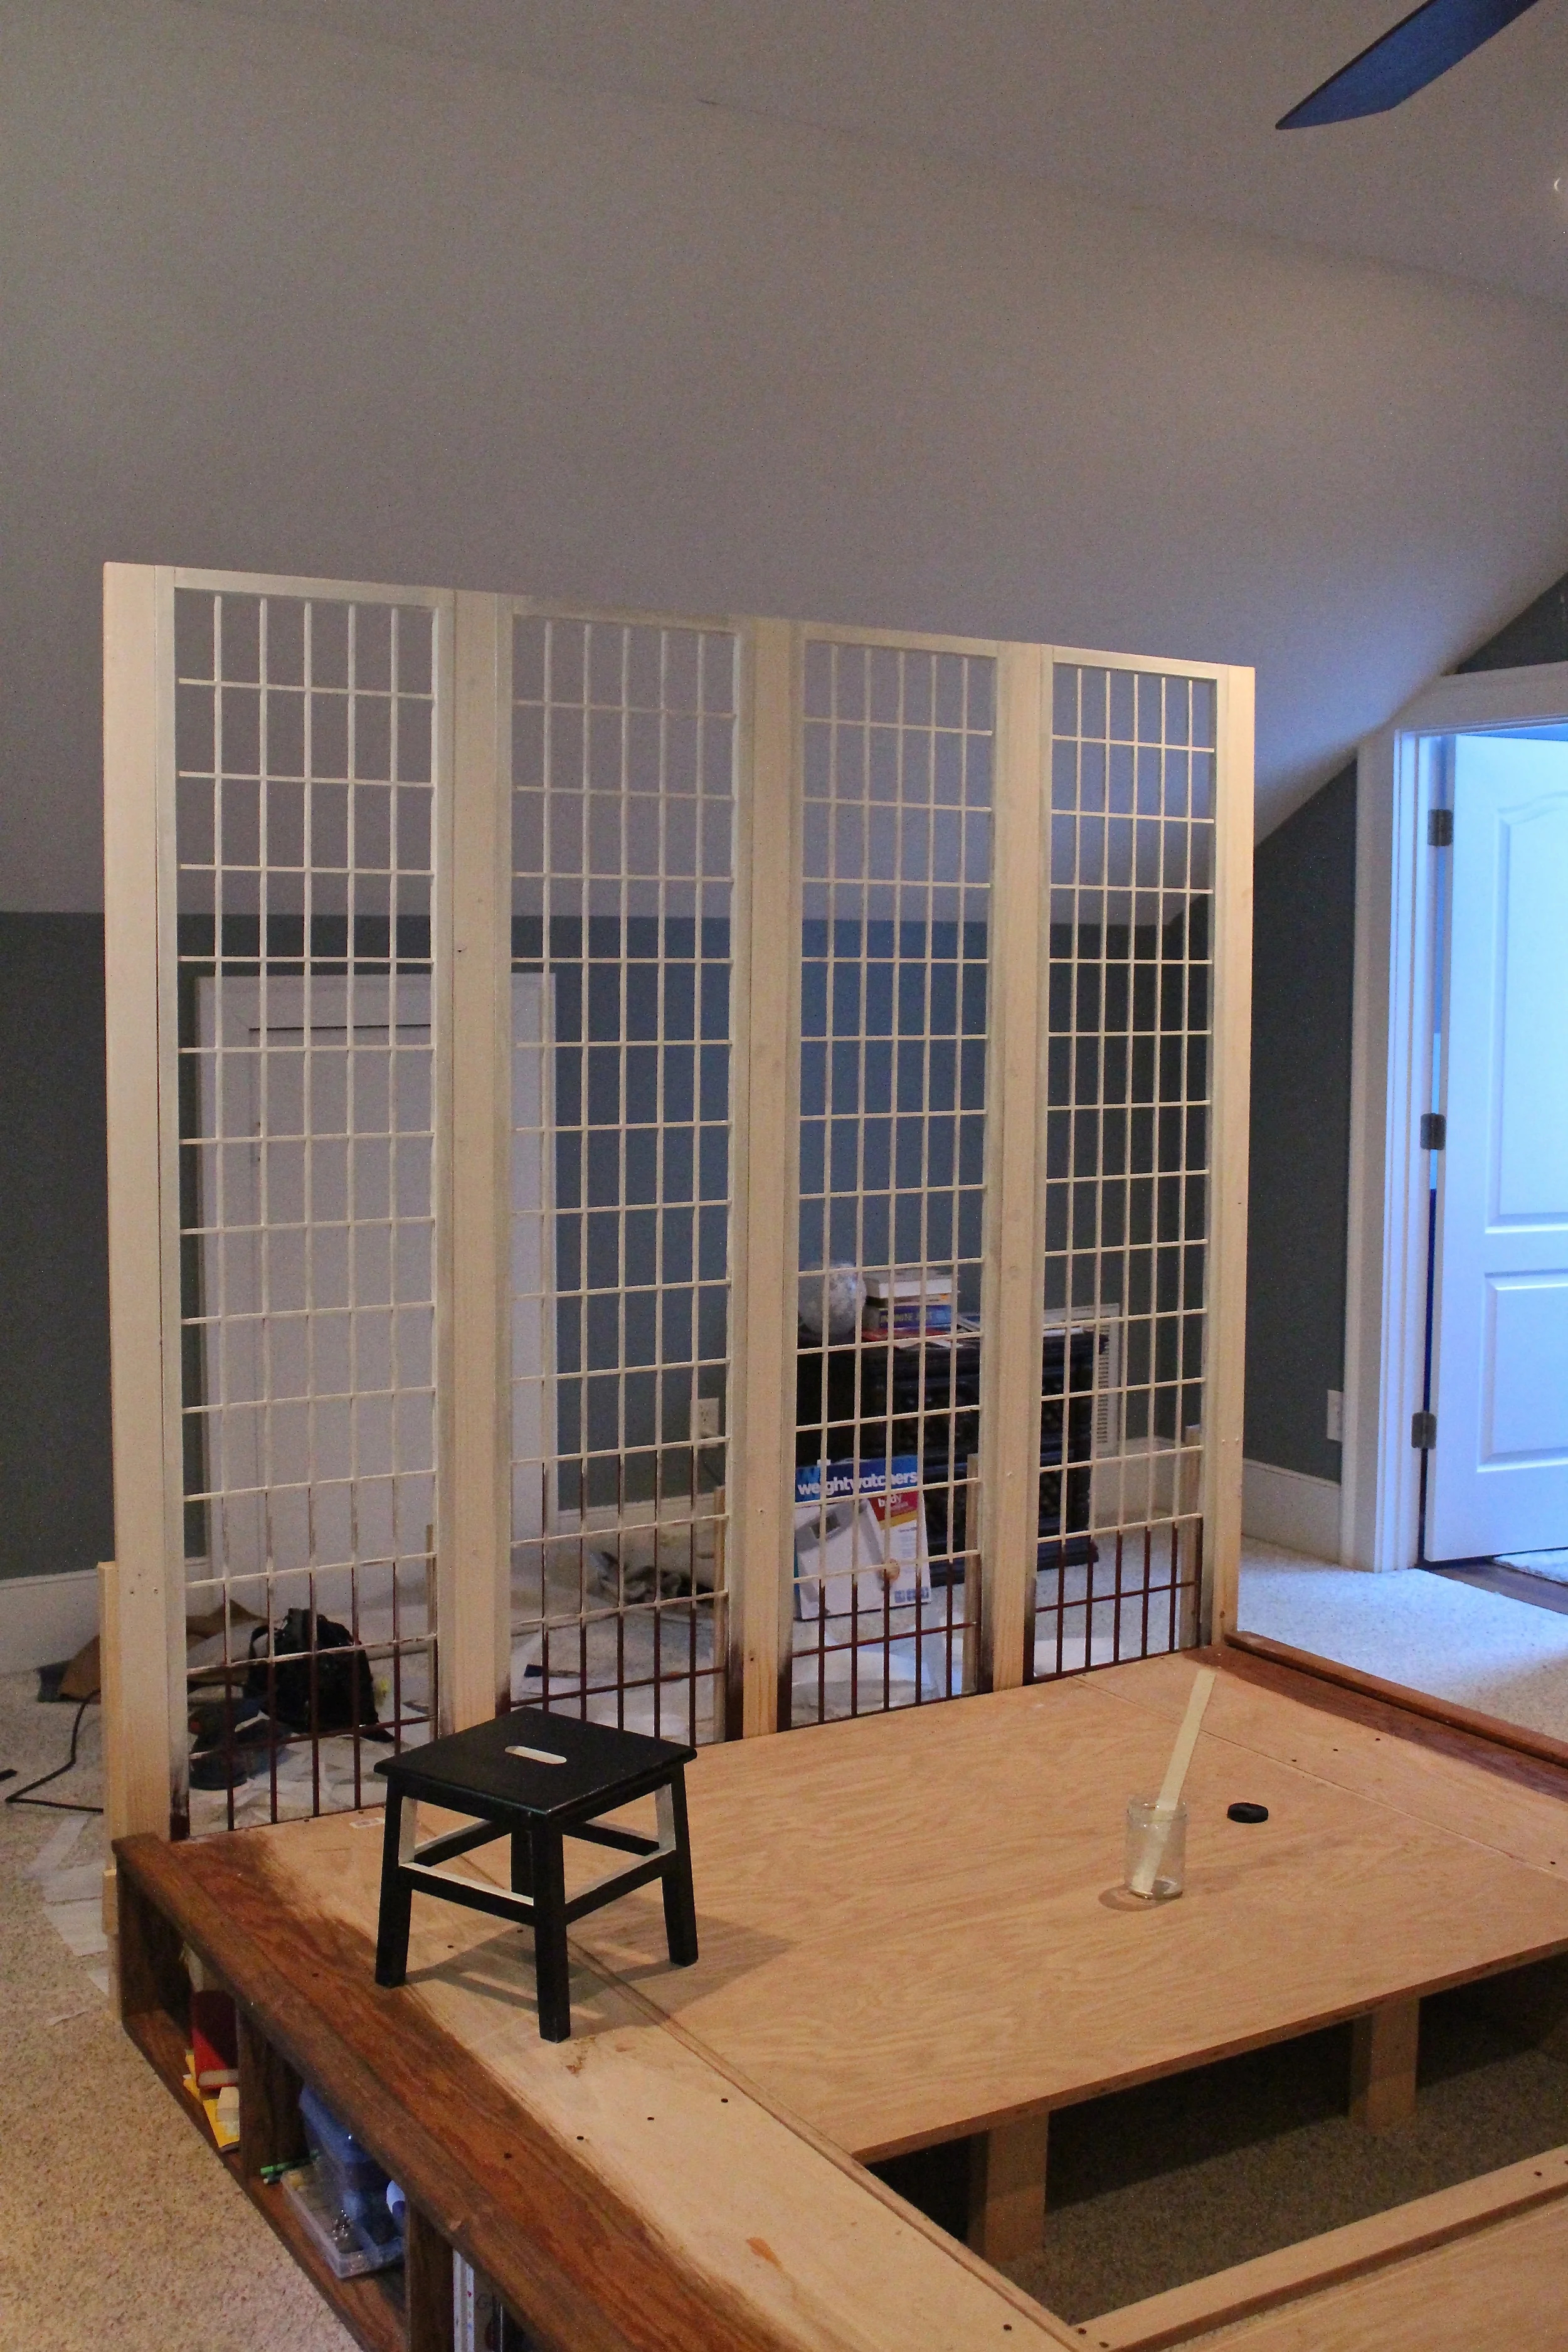
Can you tell what it is yet? It's a headboard! Inspired by hours spend during #teachersummer watching Leslie's HGTV (Eric's mom always refers to my HGTV and now it's fondly stuck in my head like that), and some very pinteresting research, I bring you the headboard room divider.
Oooooh, ahhhh
As you can see in the photo above, the ceilings in all of our upstairs rooms are slanted. I've been thinking through ways to make this less imposing for some time, and this headboard project is my first attempt at making better use of the space. The master bedroom is huge, so we are in need of some defined areas. The headboard is positioned right below the initial pitch of the ceiling, and already makes the room look a bit taller (in all its' unfinished glory) by drawing your eye to that height. Sometime in the future I'd also like to paint this room a solid color - ceilings and all - to stop drawing focus to the contrast between the shortest parts of the walls and the weird little attic doors. Anywho, with the bed in place, we have three natural "areas" in the room, where there was just one big honkin space previously. The plan is to turn the area behind the headboard into a... for lack of better term... "prep space" for things like my makeup, jewelry, laundry baskets, etc. Then there's the bed, and from the foot of the bed towards the door I'd like to get some comfy chairs to make a little lounge-ie area. Most of this plan was inspired by an afternoon of watching HGTV shows create serene, spa-like master suites for people. It isn't finished yet, but so far, so good! Especially compared to what it looked like in the beginning.
When I was researching before starting, I saw a couple of ideas on Pinterest for tall headboards, but was really into the ones that were screen-like. And I started thinking about how complicated that sounded as far as assembly goes, and wishing that there was something screen-like that I could use as a starting point. Like a privacy screen. And then I remembered the old privacy screen that I had in the attic! Time for some re-purpose-o-rama!

A little before action of that privacy screen
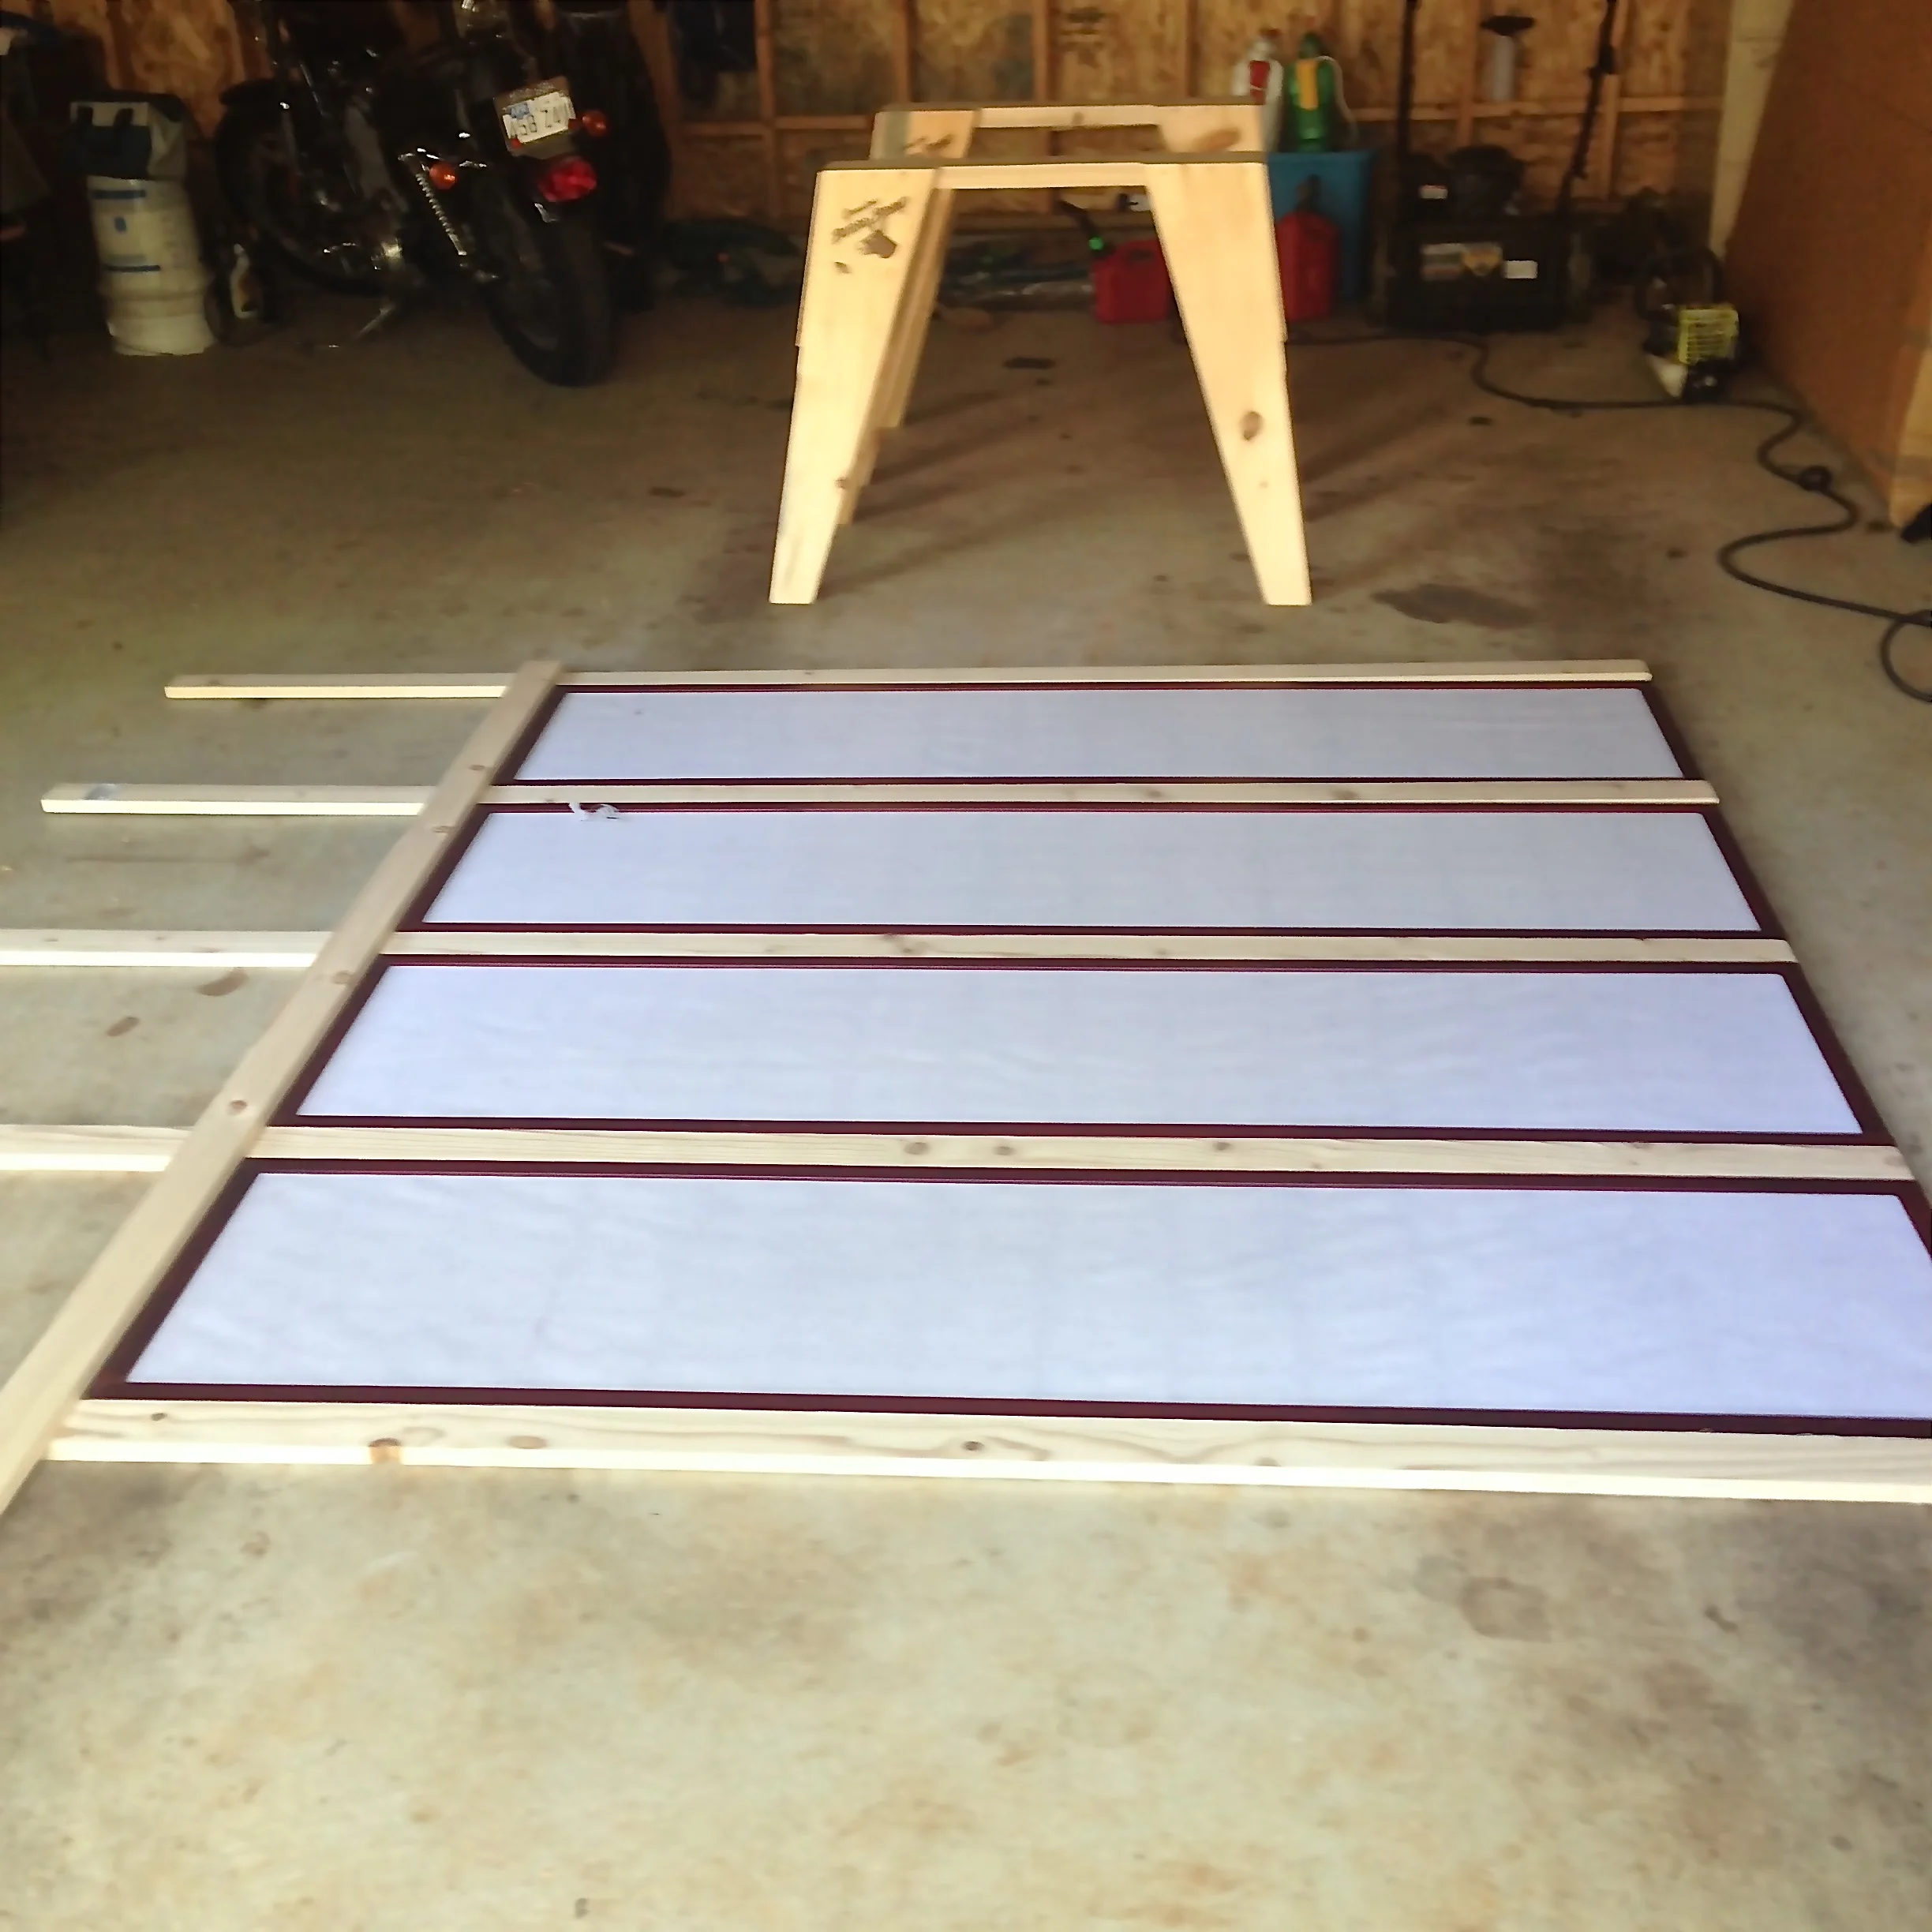
Lay it out and let the cutting begin!
There was some sawing, power-sanding, and other tool usage, and so, especially for the niece and nephews out there, this next photo is for you.

Shameless Selfie with an important message: "Safety first!"
Hopefully I'll wrap up the painting here in the next few days and be able to get the bed reassembled and show you the final product.
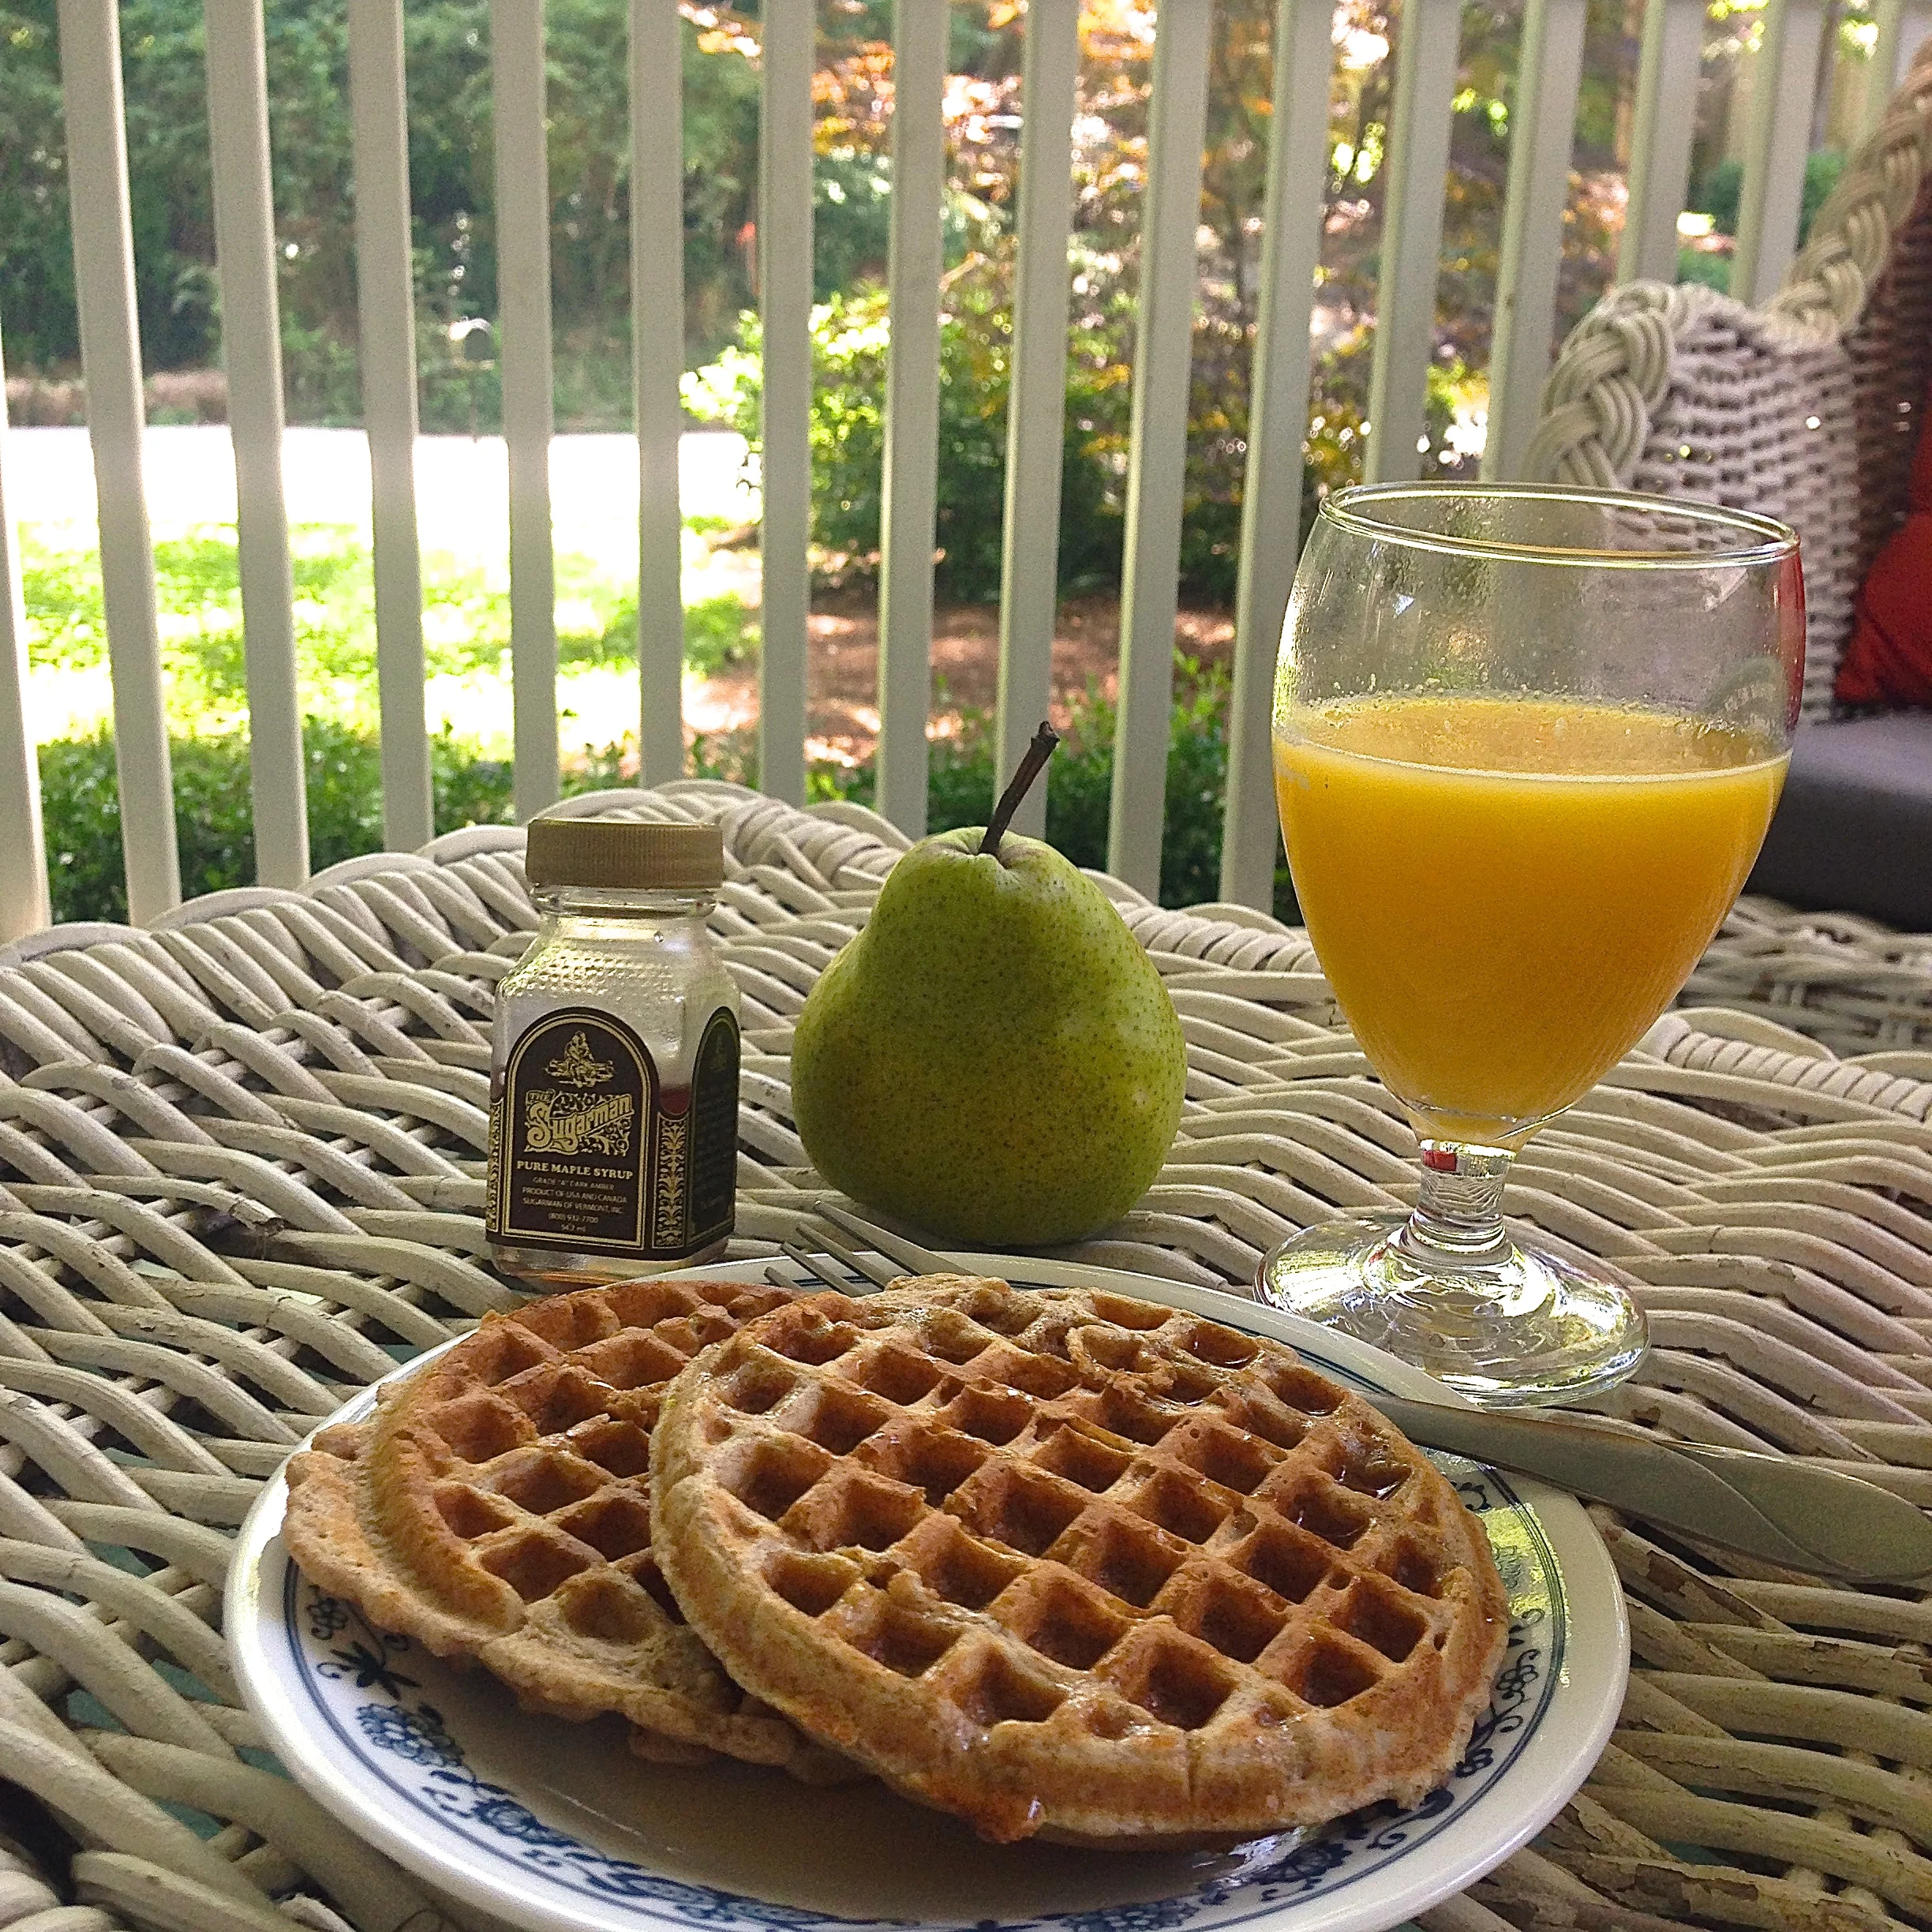
Until next time, enjoy these front porch waffles.
-K